-
- Corporate
- Products

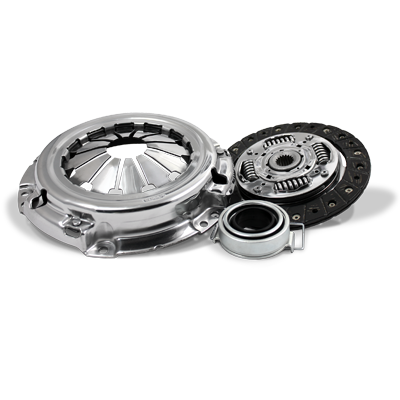
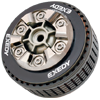
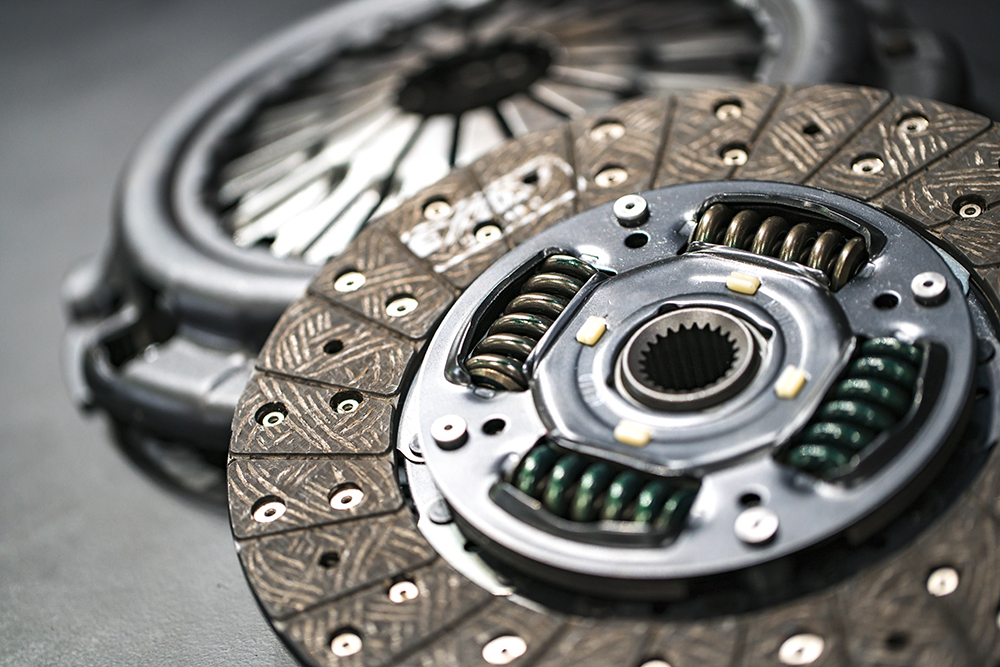
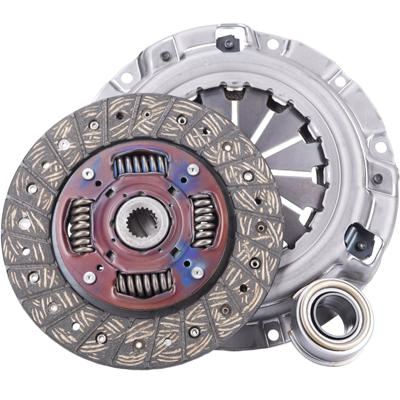
Clutch Kit
Safari Tuff

Catalogue

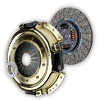
Stage 1 Organic

Stage 2 Sports

Stage 2 Racing
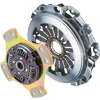
Stage 2 Rally

Racing Flywheel
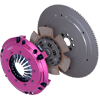
Hyper Single

Hyper Single VF
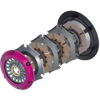
Hyper Multi
Hyper Compe-D
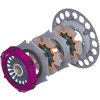
Hyper Compe-R

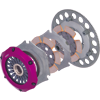
Hyper Carbon-D

Hyper Carbon-R

Catalogue
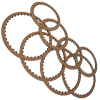
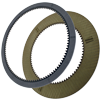
Friction Kit

Catalogue
Industrial & Off-Highway
Motorcycle Clutch

Torque Converter

Catalogue
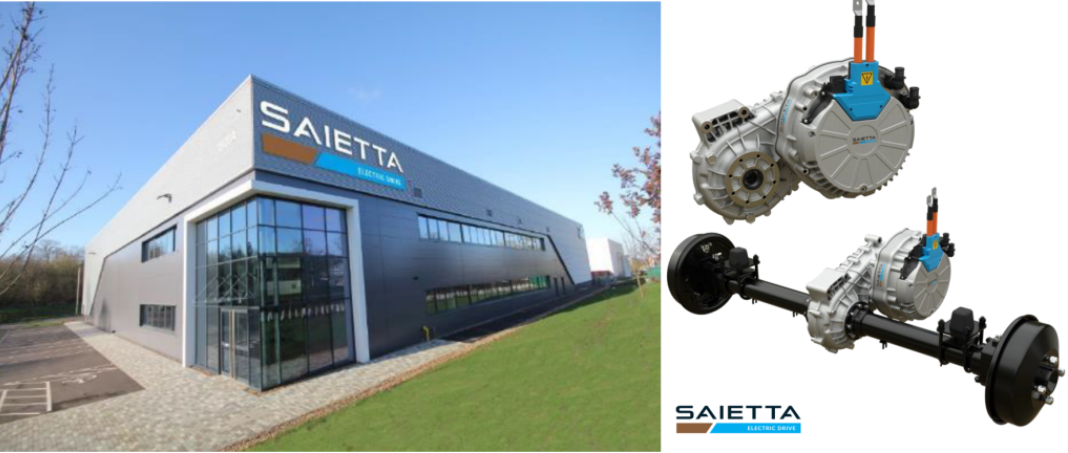
EXEDY has acquired the assets and intellectual property rights of Saietta Group PLC

Time Attack - Drift Pro Championship - Racing Honda Championship
New to Range
- Technical
- Dealers
- Contact Us
- Eng


OEM heritage
Since 1950 EXEDY has manufactured more than 300,000,000 clutches for an OE client base across all Japanese vehicle manufacturers, plus many others worldwide.
Learn More